


The average employee spends more than 5 hours on email per day. It's safe to say our inboxes tend to steal our productivity.
Email isn't going anywhere anytime soon, so we might as well try to squash inefficiencies so we don't waste too much of our professional time. Thankfully, both Gmail and Outlook have a ton of intuitive, flexible, and easy-to-implement features for improving your inbox organization — and thus, your email workflow.
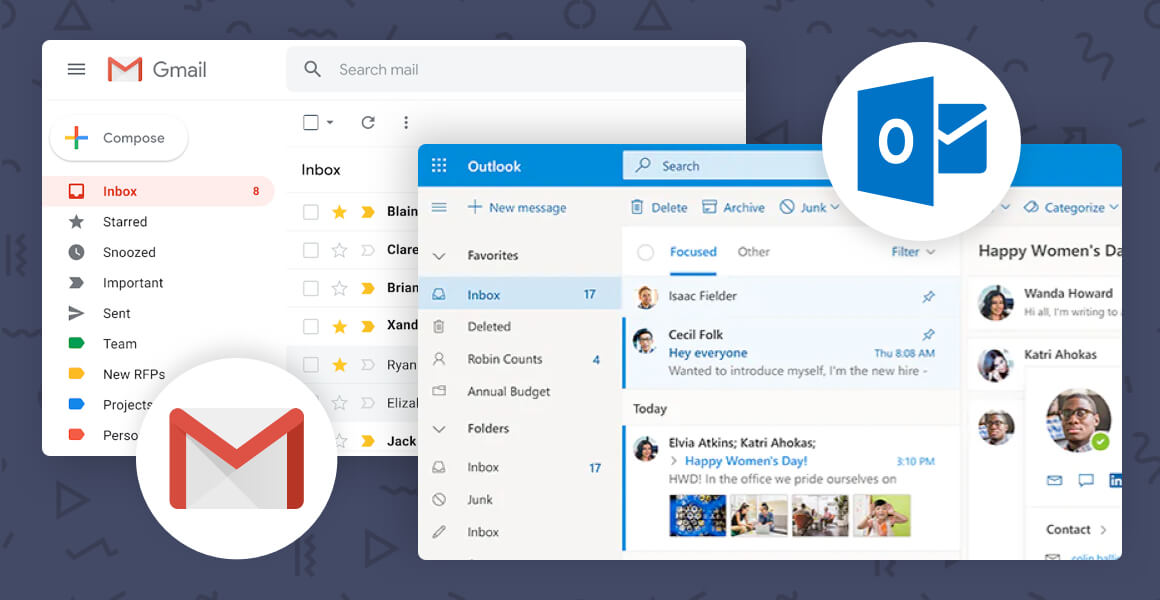
Let's cover specific ways on how to organize Gmail and Outlook to maximize your productivity.
Get Your Inbox Organized with Gmail
1. Customize your Inbox Layout
Gmail allows you to customize your inbox's layout. One option is the default layout (tabbed inboxes), the second option is three layouts that put specific types of emails first ("important," "unread," and "starred"), and a priority inbox layout that arranges mail based on importance.
We recommend choosing either the default or priority inbox layouts. These are arguably the most useful, as one categorizes and the other prioritizes. You should try out different layouts until you figure out which one best suits your needs.
Setup instructions:
Click the cog button, open Settings, and click the "Inbox" tab. Under the "Inbox tab," use the pull-down menu to choose the type of inbox layout you want.
2. Skip the Inbox
Not every email needs to end up in your primary inbox. For messages you want to file away automatically — say, messages regarding a work project or bills, create a filter that skips the inbox.
Setup instructions:
Click the cog button, open Settings, and click the Filters and Blocked Addresses tab. Click "Create a new filter" at the bottom of the screen and set your desired parameters (for example, emails with "eBill" in the subject line) before clicking "Create a filter with this search." Then, choose what your filter will do. Check the box marked "Skip the Inbox
(Archive it)," and all future filtered emails will land in your archives.
3. Create Nested Labels
You can further organize your existing labels by setting up nested labels or sub-labels. You can use them to categorize emails with additional detail — instead of labeling something "Clients," you can mark it as "Clients > Company XYZ."
Setup instructions:
To create a sublabel, select an email and then click the labels button. Click "Create new" and name your new sublabel. To nest the label, check the box named "Nest label under" and select a parent label from the drop-down menu.
4. Select Labels to Show in Your Inbox
Select only frequently used labels to show in the left column of your inbox view. Your Gmail will not only look decluttered, but you'll also locate important messages much quicker.
Setup instructions:
To change the view settings for labels, click the cog button and go to Settings. Click on the Labels tab. Under the column "Show in label list," you'll have the option to hide, show, or "show if unread" labels. Choose your desired settings for each label and click "Save changes." If you decide to hide any labels, you'll see a "More" link in the left column.
5. Set Inbox Display Density
This trick may seem minor, but it can affect how organized your Gmail looks and feels.
Setup instructions:
To set your inbox's display density, click the gear icon in the upper right corner and select your best option: "Comfortable" (widely-spaced), "Cozy" (moderately-spaced), or "Compact" (super close together).
6. Archive Emails
Archiving emails is a fantastic way to reach Inbox Zero. This method ensures already-acted-upon emails aren't cluttering your inbox — use Gmail's "Send and Archive" feature.
Setup instructions:
Click the Settings gear and follow Settings > General > Send and Archive and select the radio button next to the "Show Send and Archive button in reply." Click "Save Changes" at the bottom. From then on, you'll see two buttons whenever you respond to a message — Send and Archive and Send. Choosing Send and Archive will instantly archive the email, clearing space in your Gmail.
7. Master Filters
Filters are powerful to keep emails out of your primary inbox and organize them into folders instead. You can filter emails from specific senders, domain names, subject lines, body content, and more.
Setup instructions:
In the search box at the top of your inbox, click the Down arrow. Enter your search criteria, and at the bottom of the search window, click Create filter. Choose what you'd like the filter to do. Click Create filter.
8. Add Right-Side Chat
Right-side chat is an easy way to declutter your left Gmail column and maximize your screen real estate.
Setup instructions:
Click the Settings gear button, open the Settings menu, and click on the Labs tab. Underneath, locate the feature named "Right-side chat," select "Enable," and then click "Save changes." Your chat list will move to the right side of the window, opening up more space on the left for labels and less clutter.
9. Enable Preview Pane
Adding a preview pane to your Gmail inbox can assist you by sorting through emails quickly, without having to open each one individually.
Setup instructions:
Click the Settings gear, open the Settings menu, and locate the Labs tab. From there, find the tab named Preview Pane and hit "Enable." Click "Save changes" and return to your inbox. You'll see a small Preview Pane button next to the Settings gear. Click the button to turn the preview pane on and off.
10. Turn on Nudges
It's easy to miss important emails on Gmail thanks to marketing newsletters and Spam. The Nudge is an algorithm in Gmail that brings priority emails back to the top of your inbox when you or a recipient hasn't yet responded. It's perfect if you need consistent reminders to send replies or follow-up.
Setup instructions:
Click the Settings gear, open the Settings menu, and located the "Nudges" option to turn on and off.
Get Your Inbox Organized with Outlook
1. Use Outlook folders
Creating Outlook folders allows you to organize your email by subject or category, making it easier to find what you're looking for in your inbox. You can direct all emails into your inbox, then once handled, move it to the correct subject folder. Or, you could automate incoming emails based upon subject line or sender to move from your inbox to the correct folder instantly.
Setup instructions:
On the left, right-click where you'd like to add the folder and hit New Folder. Add the folder name and press Enter.
2. Add Color Codes for Categories
Color code categories according to subject to save time searching through your inbox. This method will help you quickly spot specific email types. Color categories also help you stay organized with notes, contacts, and appointments.
Setup instructions:
Go to the Tags group on the top bar and select Categorize > All Categories. In the Color Categories box, select New.
3. Set Up Quick Steps to Automate Inbox Actions
Quick Steps is an Outlook feature that will eliminate hours spent trying to organize a cluttered inbox. You can use multiple automations in Quick Steps — here are some of the defaults that Microsoft offers.
- Open a reply to an email and delete the original email
- Move an email to a specific folder and mark it as read
- Forward an email automatically to others
Setup instructions:
You can create a Quick Step by selecting Home and then selecting the More arrow in the Quick Steps group. This opens Manage Quick Steps. From there, select a Quick-Step or choose one to modify and click Edit.
4. Use Focus Inbox to Allocate Important Mail
Focus Inbox is a great organizational Outlook feature that splits your inbox into two different tabs, Focused and Other. You can use the View tab to easily switch between Focused Inbox and Other so you can store priority emails in one place. Feel free to move emails between the two inbox tabs when needs and set all emails from a specific sender to end up in your Focused Inbox automatically.
5. Delete Redundant Emails with Conversation Cleanup
Are your replies back and forth getting too much to handle? A simple way to reduce inbox clutter is through the Outlook Conversation Cleanup tool.
The Conversation Cleanup tool evaluates the contents of each email in a particular conversation. If an email is wholly contained in another email, it will automatically move it to Trash.
Setup instructions:
Go to the Home tab in the Delete group, hit Clean Up. Choose from the following options: Clean Up Folder, Clean Up Conversation, or Clean Up Folder & Subfolders. You also have flexibility in creating specific commands, such as never to delete a flagged email.
6. Create Quick Parts For Common Responses
Quick Parts are text templates for answers to questions you repeatedly get—no need to keep typing the same response over and over again or copying and pasting old responses.
Setup instructions:
Highlight the text you want to include and click the Insert tab. Click "Quick Parts" and pick "Save Selection to Quick Part Gallery. Give the Quick Part and name and hit OK. When you want to add that text to any email in the future, navigate your cursor to the body section of the message, and click the Insert tab. Click "Quick Parts" and then choose which one you want to insert. The prewritten response will automatically show in the email body, and you can customize it as needed for your new response.
7. Use Rules to Automatically Sort Emails
Some emails are distracting and keep you from focusing on your important tasks. Use Outlook's rules feature to skip the inbox and send those messages straight to the trash or another folder you can check later. You can also use Outlook rules to instantly sort incoming emails to the correct folder, like always sending emails from your team with a particular subject line to the "To-Do" folder.
Setup instructions:
Right-click and email, hover over "Rules," and hit "Create Rule." Choose the criteria for the rule and select what happens when the rule runs. To sort emails out of the inbox and into a folder, check "Move the item to folder" and select the appropriate folder. Click "OK" to apply the rule.
8. Unclog Your Inbox with Outlook's Task List
Some emails don't need an immediate reply, but they do need to be dealt with before you review items in your to-do folder. These items can be moved to your to-do folder so they're not cluttering your inbox, but you'll want to ensure that you have a reminder to handle them before a deadline.
Setup instructions:
Create a reminder by adding these messages to Outlook's task list. First, drag and drop the message on Outlook's task list icon. Add a due date to receive a reminder and click Save. Now, you can hover your cursor over the task list icon to view your tasks list organized by the due date. Click on the task list icon to open the to-do list and review.
9. Flag Critical Emails
Flagging an email in Outlook sets it as a reminder or message you need to follow up on. The email will get flagged in your inbox and show up in your Outlook To-Do Bar, your Daily Task List in the calendar, and your Tasks.
Setup instructions:
Each message will have a grey flag that will turn red when clicked out. Right-click the flag to change the date if you want a future reminder. When you're done handling the flagged email, click on the flag, and it will turn into a check to mark the email as done.
10. Sort Emails by Priority
Here's another situation where Outlook folders come in handy. Create a few different folders that will hold priority messages, such as a "to-do" folder, a "follow-up" folder, and a "later" folder. You can even be more specific and create folders for email conversations with your boss or supervisor.
We hope you learned a few tips and tricks to organizing your inbox in Gmail and Outlook. If you want to take your email organization one step further, try email management software like SaneBox to automatically clean up and prioritize your inbox according to your habits.


 Share on Facebook
 Share on Twitter


